The example that is described in this tutorial is also located in the folder Examples\Geometry Building Model\ and called Geometry Building Model.amp.
In this step we will make three square plates by copy and paste of the basic object produced in the previous step.
Make a copy of the Plate Object
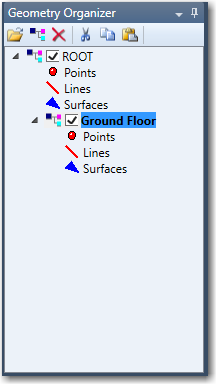
In the Geometry Organizer we select the Ground Floor object and choose the Copy command in the toolbar as shown below:
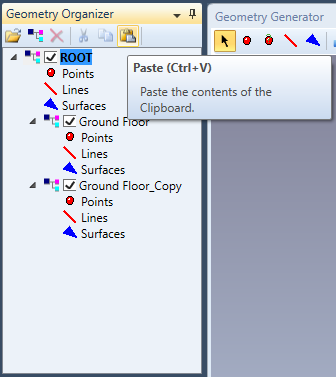
Now you need to choose if the object you want to paste should be a child of the Ground Floor Object or a separate (sibling) object in the ROOT. In this tutorial we choose to make a separate object in the ROOT. To do this the ROOT item is selected and the new object is pasted as shown below:
The new object will now appear below the Ground Floor object and we will immediately rename it to First Floor because it will serve as the first floor in the building model:

As seen to the right the First Floor object is lying on top of the Ground Floor object.
Position the First Floor Object
The idea is that we push the First Floor object up along the z-axis relative to the Ground Floor. This operation is performed in the Properties window in the Transformations section. Here there is a sub-section called Translation where we will increment the Offset Z with 0.5 as seen below:
![]()
Now the two objects are separate and we can see the Ground Floor object below. The grid plane indicated is belonging to the current object and it is from the view point of this that the full geometry is viewed.
Now we repeat the operation again.
-
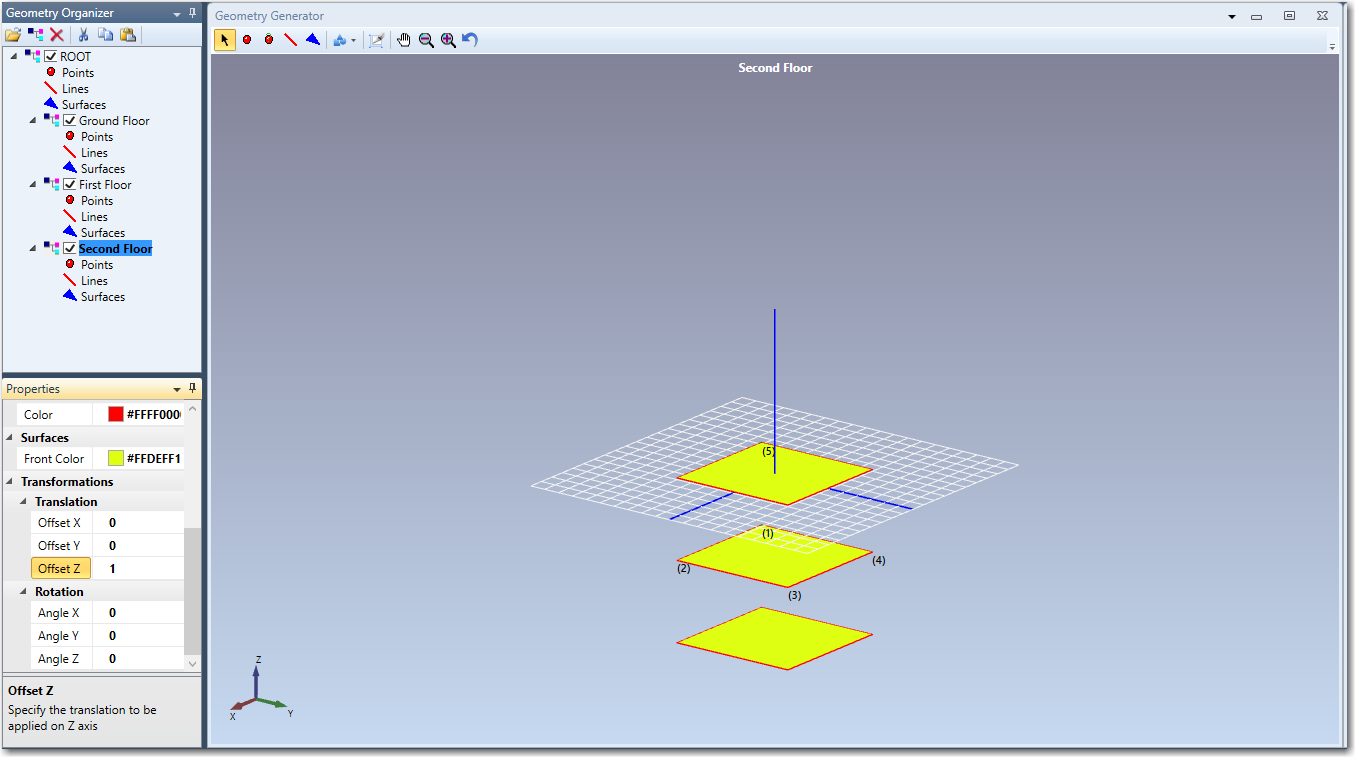
We copy the First Floor object and paste it at the ROOT, and rename it to Second Floor.
-
In the Offset Z we now enter 1 instead of 0.5, because the translation from the ROOT now is 1.
After these operations we obtain the following: